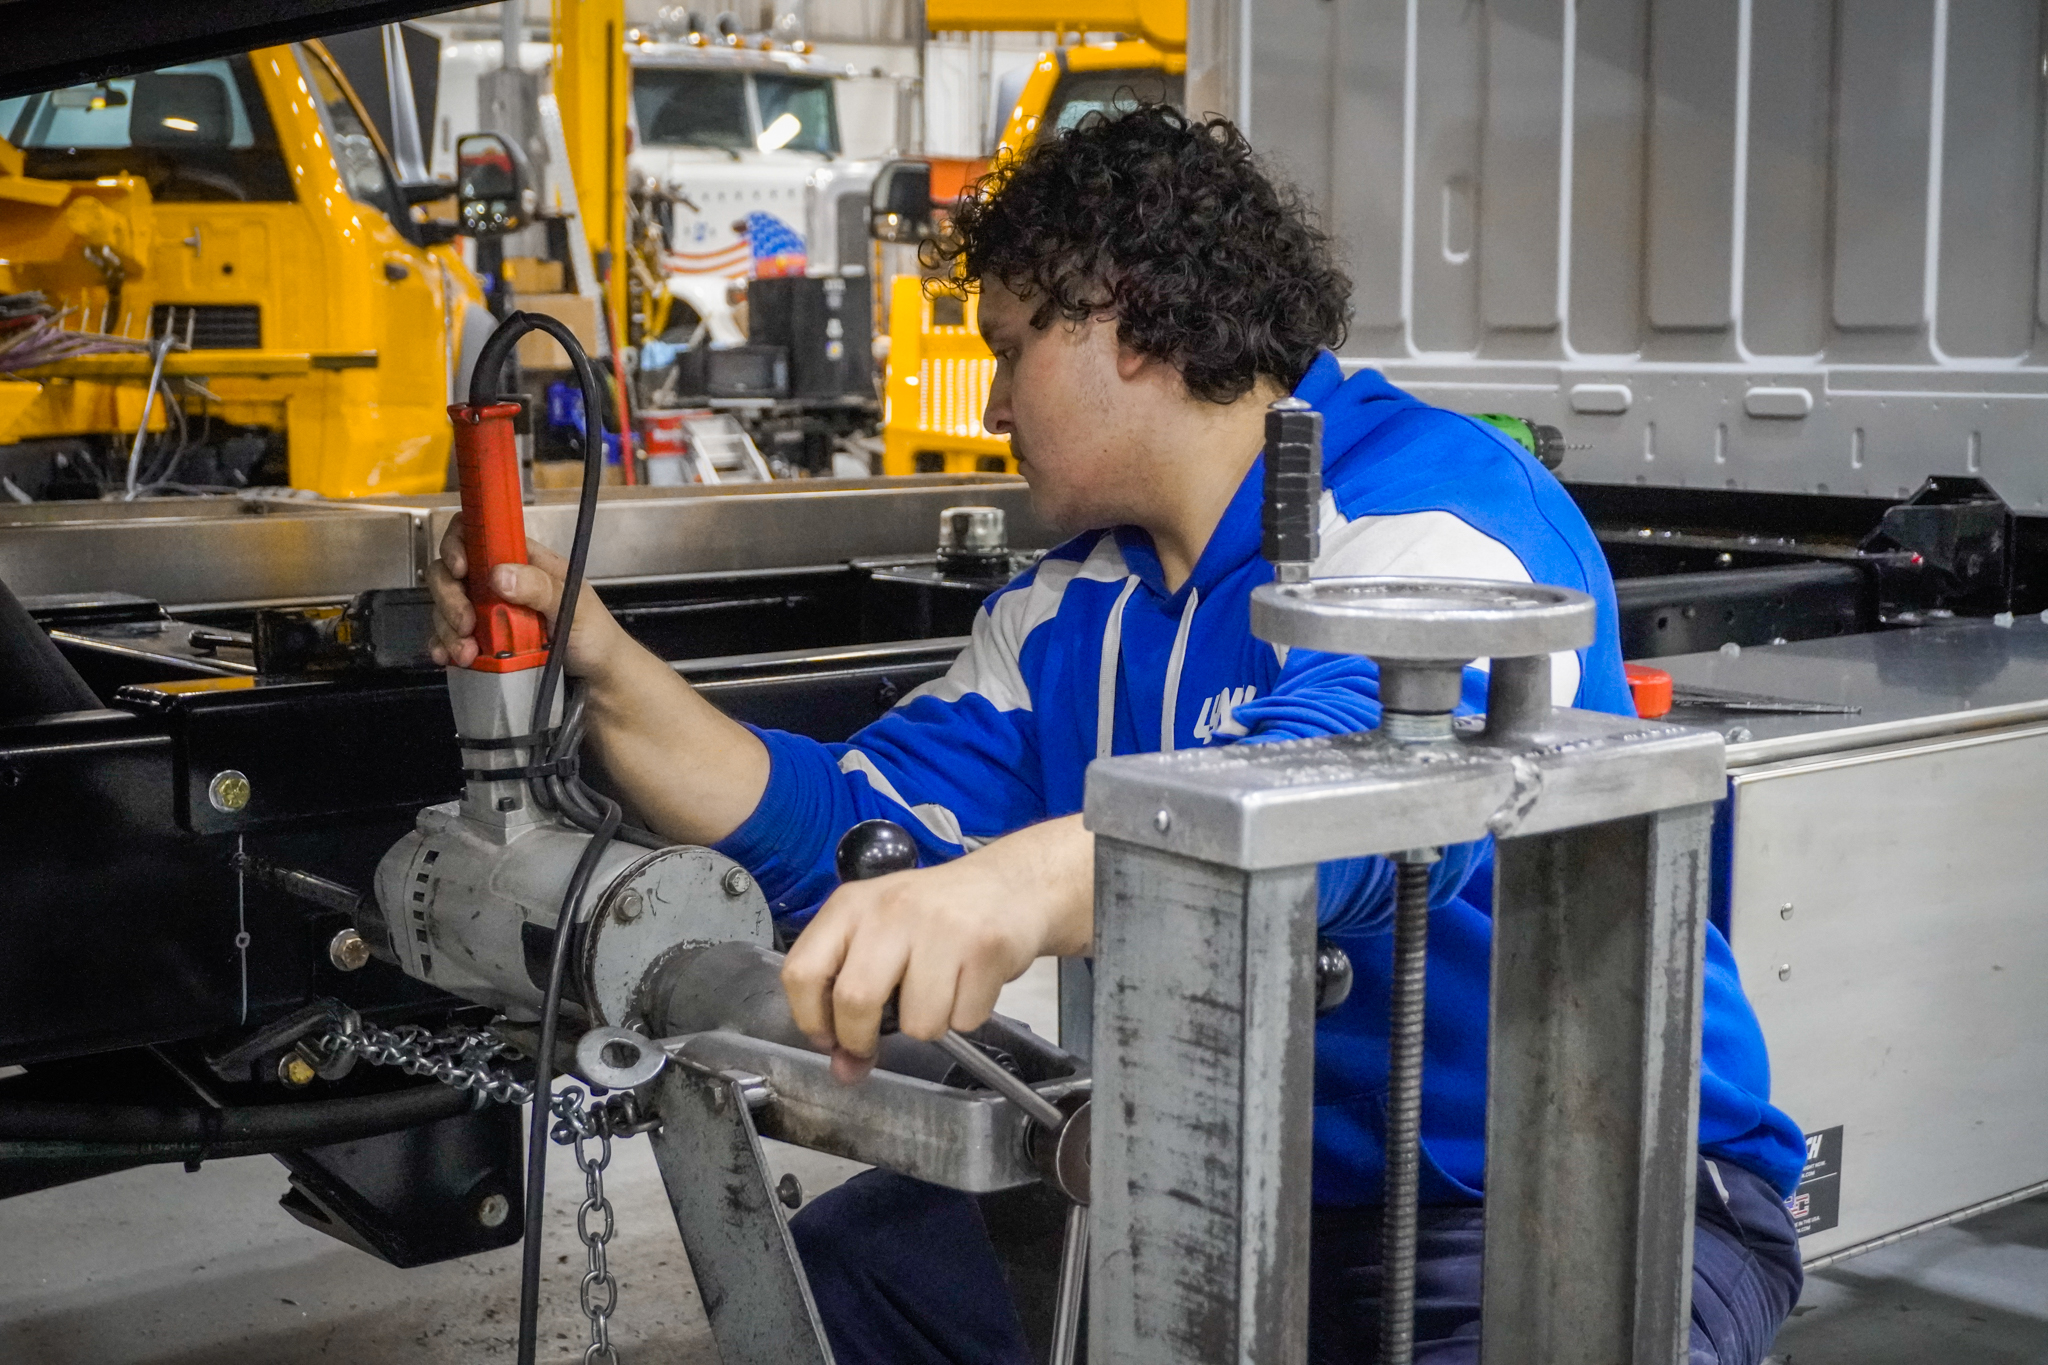
Choosing a Ladder Rack Installation That Fits Your Service Body and Crew

A ladder rack does not attach to a truck so much as it attaches to a few specific square inches of one, and every load the crew throws up there ends up traveling through those points and into the body structure. That is the whole decision in miniature: where the legs land, how they are fastened, how many crossbars share the weight, and whether the crew can actually reach the ladder at the end of a long day. Get those four things right and the rack outlives the truck. Get them wrong and you spend the next two years chasing loose hardware, water stains in a compartment, or a crew that leaves the second ladder on the ground because loading it is a fight.
The comparison below works through the real choices an operator faces when spec'ing or verifying a ladder rack installation, whether the work is happening in your own shop or on an upfit order sheet. The right answer changes with the body, the load, and the people using it, so the goal is to match the install to the truck you actually run rather than to the rack that happens to be in stock.
How Rack Style and Service Body Layout Interact
Service body layout dictates rack style more than the rack catalog does. On a standard steel or aluminum service body, the compartment tops and the top rails are the only structure a rack has to work with, and those tops are interrupted by lids that swing upward. A rack leg planted in the wrong spot turns a working compartment into a decorative one, so the first pass on any install is to open every lid, work the latch, and confirm the leg footprint clears full travel rather than just the closed position. Bodies with a vertical drop-side, a crane pedestal, a compressor, or a bumper-mounted vise all have their own no-go zones, and those get identified before anyone measures for uprights.
Rack style then follows from what the body leaves open. An over-the-body rack that spans from the top rails carries long material well and keeps the deck clear, while a cab-height rack that runs only over the forward half of the body preserves rear access and cuts wind noise, at the cost of support under the tail of a long extension ladder. Enclosed and box bodies change the problem again, since the mounting has to find frame or roof structure rather than a bolt-on rail.
Terminology matters here more than most people expect. Shops, manufacturers, and crews use different words for the same hardware, and the same word for different hardware, so a rack, a side rail, a headache rack, and a cab guard can all end up in the same sentence meaning four different things. Before ordering, get the upfitter to define what they are quoting in plain terms and confirm it against a photo of your body. Industry people understand each other fastest when both sides are naming the same part the same way.
Fixed-Mount Versus No-Drill Ladder Rack Installation
A fixed-mount install puts fasteners through the body: through the top rail of a service body, through a pickup bed rail, or through a van roof into structure, usually with backing plates spreading the load on the underside. A no-drill install clamps instead, gripping bed rails, stake pockets, rain gutters, or existing factory mounting provisions. Both are legitimate, and the choice is not about which one is stronger in the abstract; it is about how the truck is used and what happens to it afterward.
Drilled mounts win on rigidity and on long-term behavior under load. Because the fasteners and backing plates tie into body structure, the rack is far less likely to walk, chatter, or loosen from the constant low-frequency vibration of a work truck, and long or awkward material stays where you strapped it. The trade-off is permanence: every hole needs proper sealing and corrosion protection, and it lives with the body for the rest of its service life, which matters when the body will be remounted on a new chassis or the truck is heading to auction.
Clamp-on mounts win on reversibility and speed. A leased chassis, a short-term contract, a truck that changes hands inside the fleet, or a rack that only needs to be up during a particular season all argue for no-drill hardware. The cost is a maintenance item you cannot skip, since clamps need a torque check on a schedule and after any heavy load, and they need the clamping surface inspected for wear and paint damage underneath.
Whichever way you go, do the thinking before the drill and the wrench come out, not after. Fixing a bad install costs more capacity than getting the spec right the first time, and rework is the most expensive way there is to learn what your body needed.
One-Bar, Two-Bar, and Three-Bar Configurations Against Load Distribution
Crossbar count is a load distribution question first and a convenience question second. A single bar, usually a cab-height or over-cab bar, works for short material and for crews carrying one item, but a single support point lets long material pivot and lever against the mount every time the truck hits a seam in the pavement. Anything long enough to overhang wants two contact points at minimum so the load sits rather than rocks.
Two bars set well apart is the workhorse configuration for most service bodies. The spread controls deflection in the middle of a long extension ladder, gives you two clean tie-down locations, and keeps the front and rear uprights loaded in a way they were designed for. Placement inside that pair matters: bars crowded toward the center of the body leave the ends of the load unsupported and let wind lift work on the overhang.
Three bars earn their keep when the load is long, heavy, flexible, or mixed. Conduit, pipe, lumber, gutter coil, and stacked ladders all behave better across three supports because the middle bar removes the sag that otherwise concentrates stress on the fasteners at the ends, and you gain a third strapping point for securing separate items independently. The tradeoff is weight, cost, roof access, and a little more wind noise.
Be deliberate about it either way. Redundancy in a rack is fine when it is intentional and it is a problem when it is accidental, so decide what each bar is there to carry and let that drive the count rather than ordering the configuration that came up first.
Mounting Point Selection and Roof or Bed Damage Risk
Most rack failures are not rack failures at all; they are mounting point failures, and they show up as water in a compartment, a stress crack radiating from a hole, or a dimple in a roof panel where a leg has been working for a year. The rule that avoids nearly all of it is to land the load path on structure rather than on skin. A van roof is thin panel over ribs, a service body top is sheet over internal framing, and a pickup bed rail is a formed section with hollow areas, so the leg belongs where there is something behind it and a backing plate belongs there regardless.
Before any hole gets drilled, look at the back side of the panel. Wiring harnesses, headliner structure, marker light circuits, compartment shelving, and the tops of drawer slides all live in exactly the space a drill bit wants to occupy, and a punctured harness on delivery day is an expensive way to find out. Deburr, prime, and seal every hole, and select fasteners with the body material in mind, because an aluminum rack bolted to a steel body without isolation gives you galvanic corrosion in the one place you cannot easily inspect.
After the install, the mounting points need to be treated as an inspection item rather than a finished job. Vibration is relentless on a work truck, so re-torque the hardware after the first week of real use, then fold it into whatever preventive maintenance interval the truck is already on, and check the sealant and the paint around each foot while you are there. Catching a weeping hole early is routine, and catching it after a season of road salt is body work.
Vehicle-Specific Fitment Across Common Service Body Platforms
Fitment separates the platforms quickly. A pickup with an open bed gives you stake pockets and bed rails, which makes clamp-on hardware easy and puts most of the load ahead of and behind the wheel wells. A cab-and-chassis with a service body gives you strong top rails and defined compartment framing, which favors a bolted install with the legs placed to clear lid travel. A cargo van, particularly a high roof, asks for roof-rib mounting or factory provisions, plus a plan for how the crew gets material up there without a bed to stand in. An enclosed or box body usually needs the mount tied back to the roof bows or the frame, and clearances above the rear door tracks have to be confirmed before anything is fastened.
Towing equipment is its own conversation, and it is worth being precise about it. A carrier, a rollback, and a ramp truck are the same kind of truck under three names, and the deck on that truck moves, which means racks and long-material storage get planned around the tilt and slide rather than bolted to a surface that travels. Wreckers, industrial carriers, and rotators each carry their own boom, light, and control geometry overhead, so overhead storage on those units belongs in the upfit conversation from the start.
Lynch Truck Center handles new and used light-, medium-, and heavy-duty commercial trucks along with tow trucks, wreckers, rollbacks, carriers, and towing equipment, which means the body, the chassis, and the rack can be matched against each other before the truck goes to work instead of afterward.
Load Height and Daily Crew Use as Deciding Factors
Load height decides whether a rack gets used the way it was intended. A crew loading a heavy extension ladder onto a high-roof van eight or ten times a day is doing overhead work with an awkward object, and the ladder that is hardest to load is the one that ends up strapped to the side of the body or left behind. Drop-down and side-loading racks exist for exactly that reason: they trade some hardware complexity and moving parts for a load height a single person can manage without a helper and without a boost.
Clearance is the other half of the calculation, and it is measured for the tallest configuration rather than the empty one. Add roof height, rack height, and the loaded material together, then check that number against the shop door, the customer parking structures on your regular routes, drive-through canopies, and any low bridge or overhanging tree on the way to a job site. A rack that clears everything except the one garage the crew uses every morning becomes a daily obstacle.
Then watch a real loading cycle before you finalize the spec. Count the steps, note where the crew has to reach across the body, and see whether the tie-down points are where hands naturally go. A rack that saves thirty seconds per stop and keeps a technician off the side of a wheel well pays for the upgraded hardware faster than any spreadsheet suggests.
Installing a Ladder Rack on a Body That Already Has Shelving or a Partition
An existing interior build changes the install from a fitment problem into a sequencing problem. Shelving units, drawer packs, and cabinet uprights are typically fastened to the same walls, roof ribs, and floor structure a rack wants to use, so the available mounting points may already be occupied, and stacking two loads onto one fastener location is how panels start to deform. Map the interior before drilling anything by pulling a drawer, opening a cabinet, and marking on the outside where the interior hardware actually lands.
A partition or bulkhead deserves special attention because it is usually anchored high on the sidewalls and across the roof, exactly where a forward rack leg or the front crossbar would go. Sometimes the partition mounting provisions are the strongest structure available and the rack should tie into that area deliberately; other times the partition has to be loosened or repositioned first so both installs can share the space without either one being compromised.
When the interior cannot be worked around, the practical answer is to remove what is in the way, install the rack, and reinstall the shelving with fresh fasteners rather than reusing holes that have been cycling under load. It is more labor up front and it prevents the failure mode nobody wants, which is a shelf full of parts and a loaded rack both pulling on the same tired sheet metal.
Verdicts by Service Body and Crew Situation
Sorting the choices by situation makes the decision straightforward:
-
Owner-operator pickup, one ladder, frequent trailer towing: a single cab-height bar or a two-bar clamp-on set using the stake pockets, sized so the load clears the trailer's tongue swing.
-
Service body on a cab-and-chassis, long material daily: bolted two- or three-bar over-body rack with backing plates, legs placed clear of full lid travel.
-
High-roof cargo van, multiple crew members, repeated stops: a drop-down or side-loading rack tied into roof structure, chosen for load height first and capacity second.
-
Leased or short-cycle chassis, or a truck moving between crews: no-drill hardware with a torque check on the maintenance schedule.
-
Body already carrying shelving or a partition: map the interior and plan the sequence before anything is drilled.
Whatever the configuration, the install is worth treating as part of the truck spec rather than an accessory added later. We have been doing this for over 35 years, with locations in Waterford, Chicago, and Denver, and our Waterford facility runs 40,000-plus square feet with 30-plus service bays on 20-plus acres, so upfit work, parts, and service happen under one roof instead of across three vendors. If you are spec'ing a new unit, browse inventory and talk through the body and rack together; if the truck is already in your yard, schedule service or order parts and let us verify the mounting points before the crew loads it. That is how you keep your fleet moving